
This is really 3 easy little recipes that all complement each other well but can also be used separately. I made this for the Toast to the Culture in Agriculture fundraiser at Bamboo Creek Farm.

Pickled Shunkyo Radish
Ingredients:
makes about 1 quart of pickled radishes
3 bunches shunkyo radish (you can use another kind of radish, but the long, skinny shape of these radishes makes them great for easily cutting into rounds)
2 cups apple cider vinegar
2 cups water
1 medium red beet
1 garlic bulb
1 bunch green onions
3 whole cloves
1 tbs whole allspice
2 tbs kosher salt
2 tbs brown sugar
1 tbs whole black pepper
1 tsp crushed red pepper
Slice the beet, onions, and garlic and combine with vinegar, water, spices, salt, and sugar. Everything in the recipe except for the radishes.
Bring to a boil and then reduce the heat to simmer for about 30 minutes.
Meanwhile wash and slice the radishes into thin rounds. A Japanese mandoline makes this fast and easy, or at least faster, easier, and much more consistent than using a knife.
Put all of the sliced radish into a large mixing bowl and strain the hot pickle brine over them. You want to remove all of the solids so that just the liquid mixes with the sliced radishes.
Walk away for a couple hours.
Pack the pickled radishes into a jar or some sort of container and pour in enough bring to cover. Chill completely before covering. These should keep for a good long time in the fridge. Save any excess pickle liquid to make salad dressing.
Harukei Turnip Puree

Ingredients:
makes about 8 sides
2-3 pounds Hakurei turnips
3-4 cloves garlic
some kosher salt
4 tbs butter
1/2 cup sour cream
Clean and trim the turnips. Put in a large pot and cover with water.
Bring to a boil, add the salt and garlic.
Reduce heat to simmer for about 30 minutes, until turnips are completely tender.
Drain and discard the cooking liquid.
Add the butter and sour cream and mix together.
Puree with a blender until completely smooth.
Taste and add salt as needed.
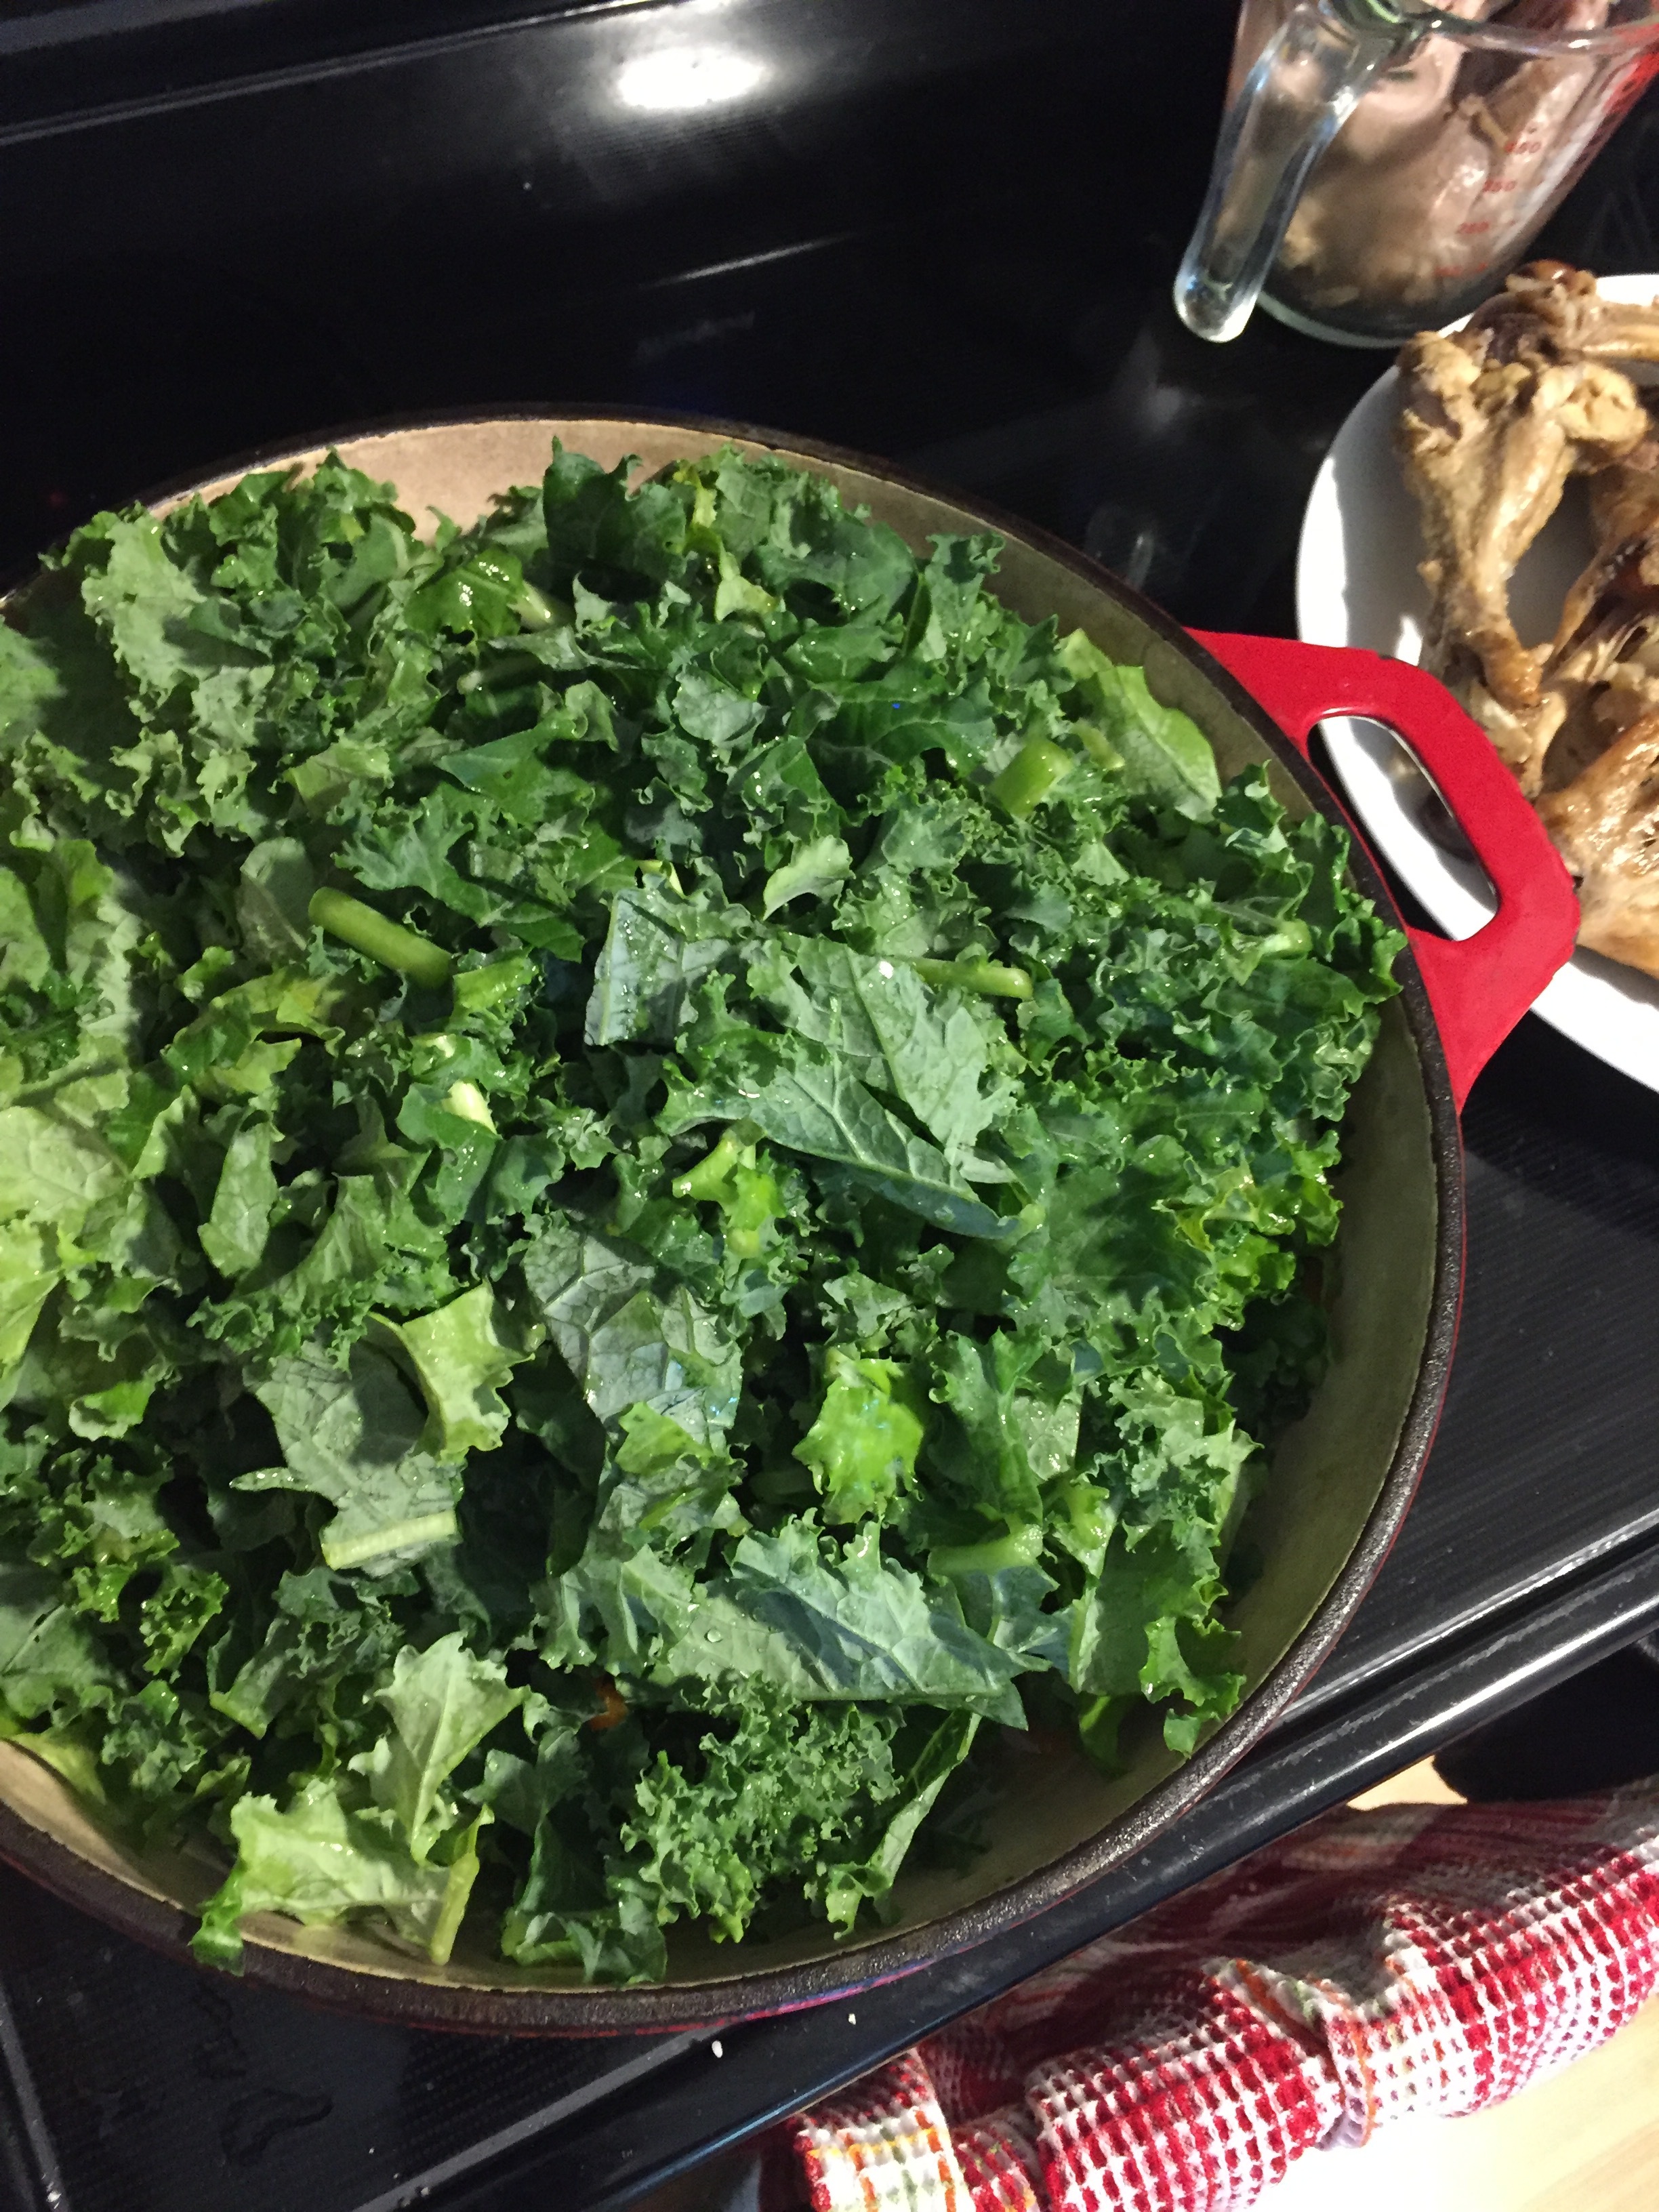
Wilted Arugula Salad
Ingredients:
2 large bunches of arugula, washed and long stems removed
1/2 cup pickle liquid (I used the liquid from the pickled radishes above, but you could use any pickle liquid to make a salad dressing)
1/2 cup olive oil
pinch of kosher salt

Combine the pickle liquid and the oil in a small saucepan and add a pinch of salt.
Bring the dressing to a boil.
Whisk carefully and vigorously then pour over the arugula.
Toss quickly to coat and allow the greens to wilt.
Making Some Hors D'oeuvres
Ingredients:

pickled radishes
turnip puree
wilted arugula salad
dumpling wrappers
Heat your oven to 425.
Lightly brush a baking sheet with oil and then lay out the dumpling wrappers. Brush the tops with oil.
Bake for 12 minutes, rotating halfway through, until lightly browned and crisp.
Place a small dollop of turnip puree in the center of each crisp. Lay some of the arugula salad against the puree and top with 2-3 pieces of pickled radish. Serve immediately.


Enjoy!
-Matt